
Not that you're interested but here's how I do a page of Out to Sea.
I've decided to write about this because it's a new process for me and also it's my first personal project where I'm doing EVERYTHING on it.
First things first. I start with a loose plot and break it down into beats. I seem to find it easier if I'm working within a confinement of X amount of pages per beat. So I'd have around 7 main beats/plot points of the story (it's a short story) and each beat will be broken down into 3 pages.

I once tried to plot out a script like a proper writer with page breaks and everything but it wasn't for me. My logic is that I'm doing the lot so I don't need to try and show myself what I want in a scene with words because I've already got the pictures in my head. I also don't really plan out the dialogue till I'm doing the thumbnails and even then I tend to leave it till I'm ready to ink.
Like most artists I know the thumbnails are just a shorthand for the flow of the page and placement of speech bubbles (which is really helpful when it comes to lettering and should be common practice). Daniel Clifford (his blog here) said to me that every page should have something funny or interesting (at least that's what I've remembered) and that has always stuck with me and has informed the way I have approached this project.

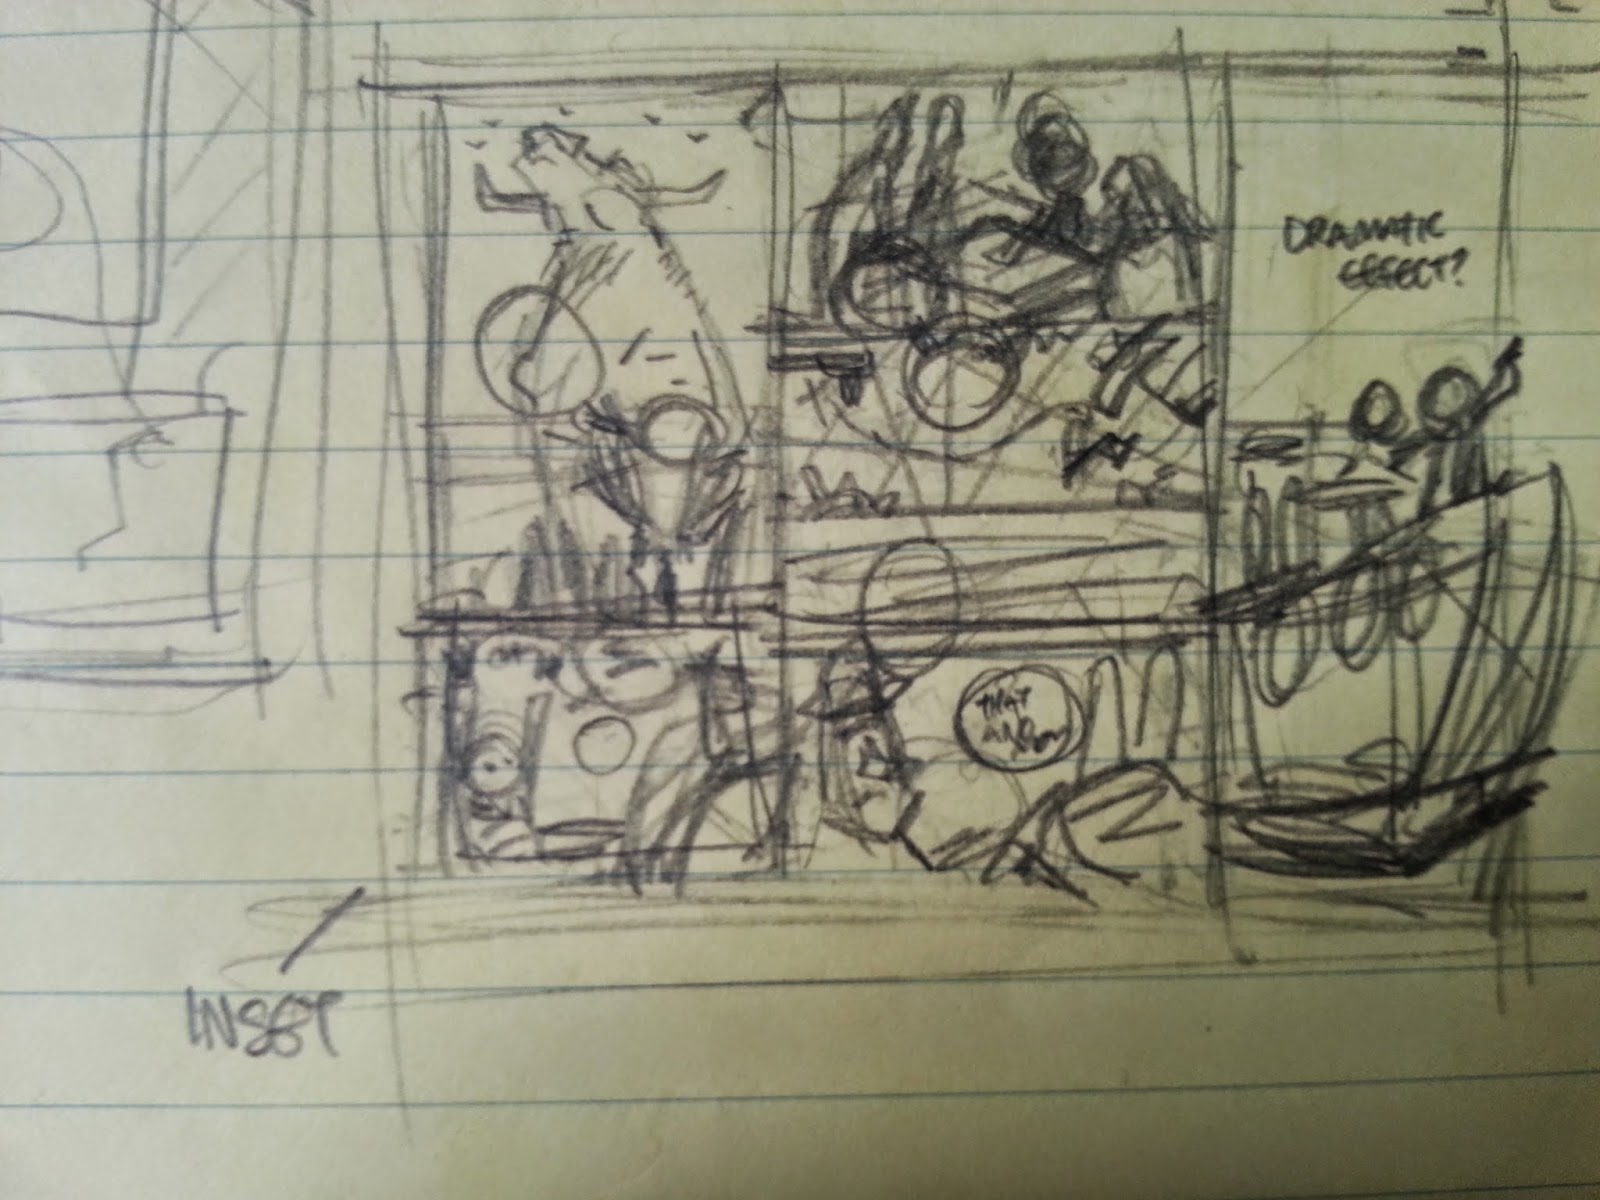
I pencil up the thumbnail on A4 and get it as close as I can/bothered to how the final page will look.
at this point I'm still ad-libbing it to a degree, especially with dialogue. Some details, like the centre panel there, I leave blank 'cause I'll be adding detail using photoshop. It's better at straight lines than I am.

Then scan that page in and put it into photoshop. After faffing about a bit making a template (so all the pages look uniformed) I add in panel borders and erase any bits that might overlap the borders like speech bubbles. I also add the text, which is generally finished at this stage, so I can draw speech bubbles around the text.

NOW WE INK! No. Not just yet. After the tweaking I print out onto Deleter paper (lovely smooth paper slightly smaller than A3). All the line work that I ink is printed in blue (including text) and the panel borders are left black. This is because with one click of a button in photoshop you can get rid of the blue line work! (I'm not sure how it does this but it's MAGIC!) then I ink.

Once the inking is finished, including the speech bubbles (I like the hand drawn look), I scan that in, lose the blue, tweak the levels and then begins colour. Because I already have a saved version of the page as pencil with the text I can just plop the finished inks into that and the text will be already set up and in the right places! It's so easy! Then colours. Fairly simple, use a limited colour pallet and a colour overlay (ties the page together nicely!) LASTLY! I make sure I have no spelling errors by making my girlfriend read it (her twitter here. I think she's funny but I'm biased)
I'm bored of typing now. You can read the first 3 pages now if you like.


p.s. The dialogue font used is one I made with the help of Kris Carter (his blog here) and that was a long evening! Not perfect but I kinda like the way the letters are jumbled a bit.